
Be Heard.
From sidewalk gigs, to studio albums — explore specialized hearing products for musicians. Learn More...

Be Informed.
Hearing Loss is an issue that affects millions of people. Don't miss out on life because you are struggling to hear. Learn More...
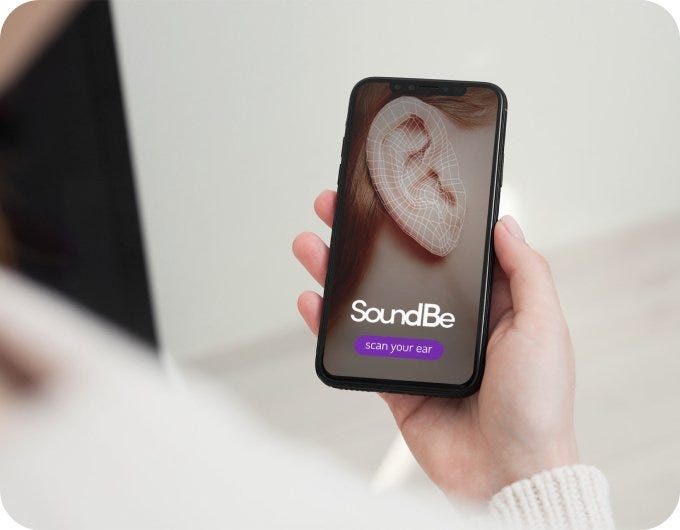
A Smart Solution For The Perfect Fit
The SoundBe ScanEar can quickly and accurately measure your unique ear shape. Using artificial intelligence to analyze these measurements, our app will instantly be able to recommend the perfect size for you.
Eligible on the below products.


Be in the Know.

Hunting & Shooting
Hearing loss is so prevalent among hunters that there is a common name for it: hunter's ear.

Loud Environments
Hearing loss is one of the most common work-related illnesses in the United States today.
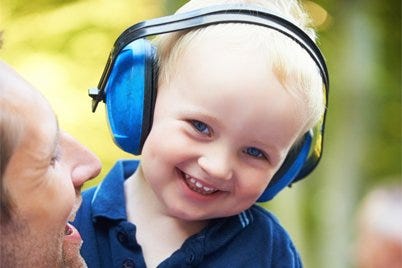
Kids
Noise-induced hearing loss is a growing problem amongst children today.